Documentation
Everything you need to know about n8n Builder
New to n8n Builder? Explore the homepage to learn about features and pricing.
- Download the extension from the Chrome Web Store
- Pin the extension to your Chrome toolbar for quick access.
- Sign in or create an account (agreeing to our Terms of Service).
- Visit the pricing section to purchase credits when you are ready (view plans).
- Have questions? Check out our FAQ section for common answers.
Free Trial Credits
AI Workflow Generation
Describe what you need in natural language to get a complete, validated n8n workflow.
- Understands integrations, triggers, and branching logic
- Produces import-ready JSON definitions
Quick Search and Actions
Use API search and instant clipboard export to go from idea to automation in minutes.
- Keyboard shortcut (Ctrl+M) for instant access
- One-click copy workflows to clipboard
Security and Billing
Credentials stay in extension storage and you only pay for successful workflows.
- HTTPS-only connections
- Automatic retries on network failures
Workflow Enhancement Modes
Choose how AI updates the current workflow or creates a new one.
Start fresh with a completely new workflow. Perfect for clean builds.
Add new nodes to your existing workflow without removing anything.
Intelligently update existing nodes or add new ones as needed.
Step 1: Open the Extension
Click the n8n Builder icon or use the Ctrl+M shortcut to open the interface.
Step 2: Choose the Mode
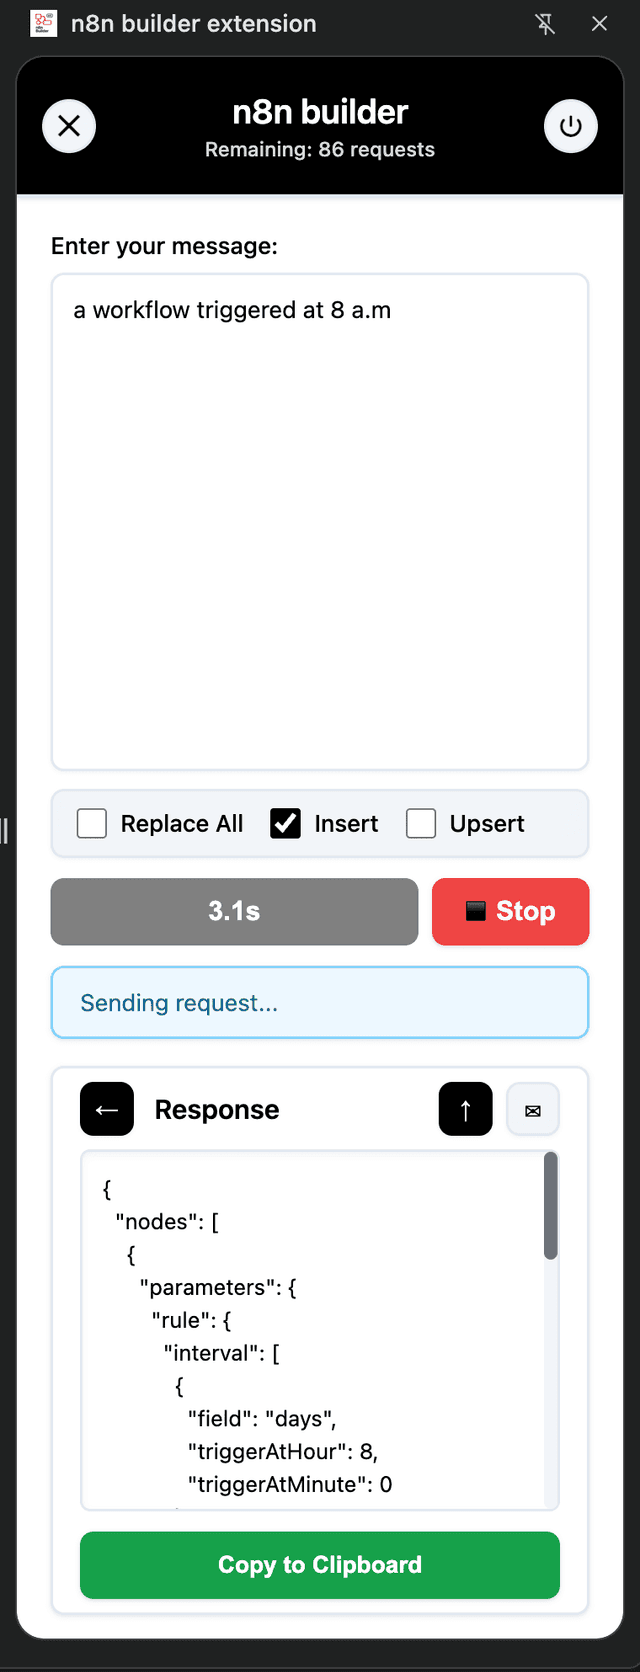
Select Replace, Insert, or Upsert mode depending on how you want to modify.
Step 3: Describe the Workflow
Write detailed instructions including triggers, data sources, and actions.
Prompt Examples
"Create a workflow that sends a welcome email when a new user registers"
"Monitor Gmail inbox and save PDF attachments to Google Drive"
Step 4: Generate
Click Generate and watch AI build the nodes in seconds.
Step 5: Import to n8n
The JSON file is automatically copied to clipboard for pasting into n8n canvas.
Plan Workflow Goals
Define the desired outcome before generation to ensure focus on the right goal.
- Identify triggers, data sources, and destinations
- Define success criteria for each step
Describe Data Flow Clearly
Explain how information moves between nodes so AI builds them correctly.
- Specify required transformations or filters
- Add field names or data samples if available
- Highlight dependencies between branches or loops
Review Before Import
Use preview to ensure the workflow matches your expectations before moving to n8n.
- Check credential placeholders and replace with your data
- Review node settings according to your business rules
- Run a manual test in n8n before activation
Be Specific
Mention triggers, integrations, and data requirements precisely in your prompts.
Start Simple
Create a basic workflow and iterate using Insert or Upsert mode.
Use Clear Language
Explain the process as if you're assigning a task to a colleague.
Review and Customize
Import the workflow to n8n and adjust nodes to fit your exact needs.


If you have questions or need support, reach out to our team.
[email protected]Review our Terms of Service and Privacy Policy for more information.